Working with the called Visit
Working with the called Visit, i.e the ticket number on display, can be a more involved process, like attaching a Customer, a note, more Services and marks to the Visit, or a simple function, like transferring the Visit to another Service.
Parking an ongoing Visit
If you click the Park button, during an ongoing Visit, the current Visit will be sent to your User Pool.
For more information, see
“Pools” .
Transferring a Visit
Use the Transfer feature to transfer a Visit between Queues or Pools.
For more information about Pools, see
“Pools” .
This feature is useful when multiple employees need to Service the same Customer, or when a Customer for example needs to fill in a form before being served again.
To transfer a Visit, prerequisites:
• The Visit is called and the Service is provided.
• The Visit remains open.
1. Click the Transfer button. The Transfer window is displayed:
2. Click one of the buttons in the
Actions column to perform the transfer. The buttons determine where in the Queue or Pool to place the Visit: at the front,

, at the end,

or sorted, based on the Visit lifetime,

.
Pools
Pools are similar to Queues, but are used when Customers need to be put on hold or parked aside the predefined Customer journey. Users or Service Points may need to let a Customer for example fill in a form and meanwhile continue serving the next Customer.
There is one Service Point Pool connected to each Service Point.
Visits can not be created directly in a certain Pool, instead the Customer must be transferred to the Staff Member or Service Point Pool.
The Customer can later be called automatically from a Pool and Customers in a Pool do not have a certain order.
Pools may be connected to a certain Work Profile.
Setting a Visit as No show
If a Customer is called for Service and does not show up, you can
Recall the Visit by clicking the button for it, see
“Recalling a Visit” . Or, if still no Customer appears, you can record the Visit as a
No show. The system then records no shows in the statistics, allowing management to track missed Visits with the completed transactions.
To record a Visit as a No show, simply click the No show button. The Visit is saved in the statistics and closed.
Recalling a Visit
If a Customer does not respond to the initial call for Service, the Recall feature allows you to call that Visit a second time or more. Click the Recall button to re-announce the most current Visit on the displays and through the audio and/or video units available in your system. This option only operates for the most recent transaction and for a Visit that has not yet been closed.

The transaction time is
not reset to zero when a Visit is recalled.
Recycling a Visit
If a Customer does not respond to the initial call for Service, or for any other reason you want the Customer to be called again later, the Recycle button allows you to put that Visit back into the Queue at the first position, but after a delay of a number of seconds. The number of seconds can be changed in the Parameters tab in the System Administration application.
For more information, see the Reference Manual.
It is only possible to Recycle a Visit three times. (If that parameter has not been changed in the
Parameters tab in the
System Administration application.
For more information, see the Reference Manual.)
Adding and editing notes for an ongoing Visit
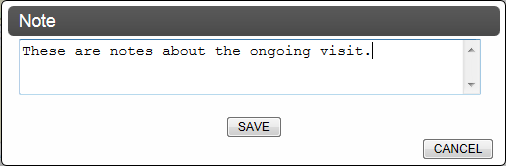
Notes may have already been added in the Reception application. If so, they will be visible in the yellow Visit area of the Counter terminal. To edit or add more notes, click the Notes button. The Note window will be opened:
Enter the wanted notes, then click Save. Notes are only valid for as long as the Visit is open. All notes are deleted when the Visit is closed.
Linking a Customer to a Visit and editing Customer information
By linking a Customer name to a Visit, the coming transactions, if any, will see the name of the Customer with that Visit number.
To link a Customer to a Visit, prerequisite:
• The Visit has been called.
A. To link an existing Customer:
1. In the Customer information window, enter a name, the first name or the last, or a part of it, in the Find field. The search begins when two characters have been entered and the results are displayed incrementally.
The search feature is not case sensitive, nor does it require a complete entry to successfully run a search. For example: ja, jam, james, and James all return Customers named James, Customers with a name that begins with Ja, and Customers with a name that begins with the letters jam, like Jamie. You cannot search with characters missing in the middle of the entry or using an asterisk.
A Customer list is displayed; up to a maximum of 100 names.
2. Click the Customer name to select the Customer.
3. Click the
Link button,

, to link the Customer to the Visit.
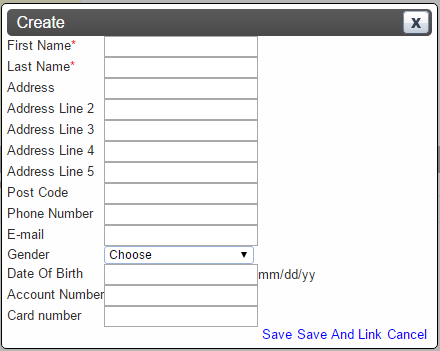
B. To enter a new Customer,
1. Click the
Create button, 
.
2. Enter the Customer information and click Save, or Save and link.
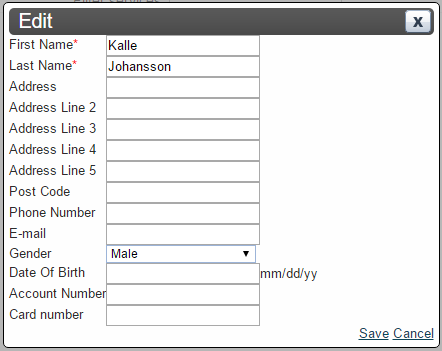
C. To edit Customer information, click the
Edit button,

, with the Customer name in the field. Edit the wanted information, then click
Save.
To change an erroneously linked name, just link another name.
It is also possible to delete a Customer, by clicking on the
Delete button,

. You will be asked to confirm the deletion.
Adding Marks
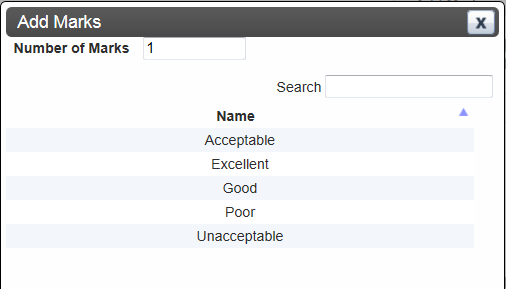
Depending on how your system is set up, it may be possible for you to add marks to the ongoing Visit. This is done by clicking the Add Marks button, in the upper right area of the Counter window. The following window is displayed:
Enter the Number of Marks and select the wanted Mark from the list. The Marks will then be listed in the Marks window, in the center of the Counter window. Here, it is possible to remove Marks, see the name of it as well as what time it was added.
Adding/editing Services
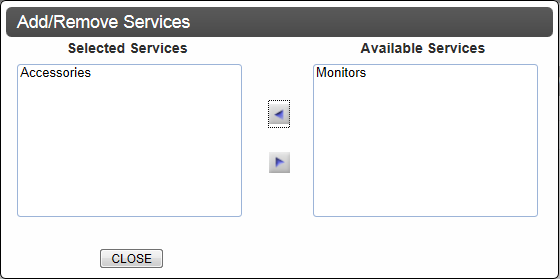
Depending on how your system is set up, it may be possible to add Services to an ongoing Visit. This is done by clicking on the Add/Edit Services button in the upper right area. The following window is displayed:
Move the wanted Service from the list of Available Services to the list of Selected Services, using the arrow buttons.
The Services can be monitored in the Additional Services window in the lower right area. Here, you can see both Unserved and Served Services.
If a Visit has additional Services attached to it and one Service is ended, the following window will be displayed, showing the Services that are next for the Visit:
This way, the Counter staff can direct the Customer to the next Service.
Adding a Delivered Service
If a Delivered Service has been created and connected to this Service in the
Business Configuration application, the delivered Service
must be added, before it is possible to end the transaction.
Use the Add delivered service button in the top right corner to add a delivered Service to the ticket.
To add a delivered Service, prerequisite:
• The ticket has been called.
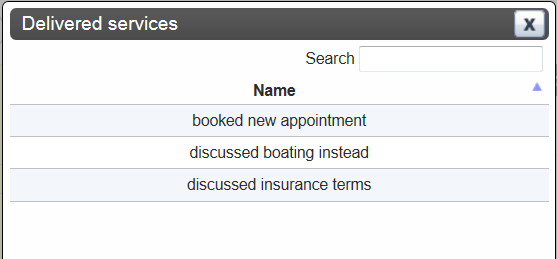
1. Click the Add delivered service button. The Delivered service window is displayed:
2. Select the delivered service that you want to add to this ticket.
Adding Outcomes
If an Outcome has been created and connected to this Service in the
Business Configuration application, the outcome
must be added, before it is possible to end the transaction.
To add an Outcome, prerequisite:
• The ticket has been called. Delivered Service has been added (if applicable - it is possible for Services to have Outcomes connected to them, even without Delivered Services being connected to them).
1. Select an Outcome from the drop-down list.
2. The wanted Outcome is attached to the ongoing Visit.
3. Add additional Outcomes as needed.
Viewing Queue information
In the bottom right area of the Counter window, you can monitor the Queues.
Click the sorting buttons above the list of Queues, to sort them according to Queue Name, Waiting Time, or number of Customers Waiting.
Note that the Waiting Time displayed here comes from the first Visit in the Queue and not the maximum Waiting Time of all Visits in the Queue.
Click on the link for each Queue to open up the Visits in <Queue Name> window, where it is possible to do the following:
• Transfer the Visit, by clicking the
Transfer ticket button,

.
• Remove a Visit, by clicking the
Removing ticket button,

.
• Calling a Visit, by clicking on the
Call this ticket button,

.